Kayak fishing SoCal inshore opens up water that shore fishing simply can’t reach. You can cover a full harbor in a session, get your bait working from the fish’s level, fish both sides of the wall, and access rocky structure that no one is reaching from land. A lot of the best water in Marina del Rey (MDR) and similar harbors is simply out of reach on foot — from a kayak it’s all on the table.
MDR is the reference point throughout this guide … piling to rocky points to the outer wall, all fishable in a single trip. The same applies to most SoCal harbors. This guide is built around what actually works from a kayak in this fishery, including a section at the end on how float tube fishing fits into the same water differently.
What a kayak gives you that shore fishing doesn’t
The most immediate advantage is access. From a kayak you can work both sides of structure, position yourself along a rocky wall instead of casting down at it from above, and move between sections in minutes instead of walking. At MDR, I covered pilings, back bays, and the outer rock wall in the same session.
The second advantage is presentation angle. Casting from water level means your bait enters the water at a more natural angle and tracks through the zone horizontally rather than dropping down from above. For crankbaits in particular this is a meaningful difference … you can keep a crank grinding along the bottom edge of a rocky wall for far longer from a kayak than you ever could from shore.
I went from pilings to back bays to rocks. Trolled the crankbait all day. Didn’t use the paddle once. Motor lasted all day and I’m feeling fresh … I might fish tomorrow.
Safety basics before you launch
Two things worth doing every time: radio check and life vest. I run channel 10 for communication with fishing partners. If someone flips and doesn’t answer a radio check, you know immediately. It’s not a precaution for bad weather. Safety is no accident.
Check your PFD before you trust it, not after. A self-inflating vest can expire without looking any different on the outside. A friend of mine found out the hard way — his vest’s pull cord did nothing when we tested it. A vest you haven’t checked isn’t really a safety plan, it’s a guess.
My buddy Luke, co-host of our Time on the Water podcast, has a rule he sticks to: if one thing goes wrong on the way to fish — gear failure, something mechanical, anything that feels off — that’s the trip’s answer. He doesn’t wait around for a second or third thing to happen once water’s involved. It sounds simple, but it’s the kind of rule that’s only easy to follow before you need it.
Harbors aren’t just you and the fish. Tugs, sport boats, and other traffic move through the same water you’re fishing, and the safest move around any working vessel is more distance than feels necessary. If something looks off about a boat’s position or behavior near you, give it room first and figure out the rest after.
If you do flip, the recovery system that works is a strap with a d-ring and pull handle clipped to the carry handle on the entry side. Foot goes in the pull handle as a step, pull yourself up and get your body over the hull, take a breath, then pull your legs in and reposition. Practice it once near shore before you need it in the middle of a session. And keep your radio on — the most reliable indicator that someone has flipped is a missed radio check.
How to work a harbor by kayak
Start with structure sections, not single spots
The efficiency of a kayak comes from covering sections of structure methodically rather than anchoring on one spot. Pick a stretch … a piling line, a channel edge, a rocky wall section … work it at trolling speed or casting speed depending on your presentation, note where fish are holding, and loop back. Three hours of slow methodical coverage beats three hours parked on one section that’s gone cold.
My MDR pattern by kayak: start at the pilings in the harbor interior, work through without much action, move to the fuel dock area, then out to the rocky wall for the outer structure. That progression … from protected interior structure to exposed outer structure … is a sound template for most SoCal harbors. Start inside where conditions are calm and the fish are predictable, work out as the session develops.
Trolling crankbaits along rocky walls
This is the technique that unlocks the outer wall and rocky breakwall sections in a way that’s genuinely difficult to replicate from shore. Set the trolling motor to a medium-fast cruising speed (speed 4-5 on most systems) and run the crankbait alongside the rocks, keeping it in contact with the bottom. You want that bait deflecting off the rock surface on every retrieve … the irregular deflections are what triggers the bite, not a clean smooth path through the water.
Use a Rapala loop knot, not a clip. The loop lets the bait swing freely on the retrieve, which amplifies the wobble against the rock surface. Tie straight to a clip and you dampen the action. It’s a small detail that makes a real difference when you’re fishing rock structure at close range.
The SoCal urban structure guide covers each of those structure types in detail.
I’m riding along the rocks right here trolling the crank but I want it hitting the rocks. Going door to door. Right in the sweet spot.
Finesse presentations from a stationary position
Once the trolling motor has located active fish along a section, position the kayak and switch to finesse. A 4-inch RX Slug on a drop shot or a RX Firecracker Ned on a light roll head fished vertically from a stationary kayak is extremely effective … you’re fishing straight down into structure rather than casting in from any distance. The angle is clean and the bait stays exactly where the fish are holding.
This is also where the kayak’s low profile helps. You’re close to the water surface, your shadow isn’t falling across the structure ahead of you, and your retrieve is horizontal not downward. In clear water especially, this access to a better angle produces bites that shore fishing simply can’t.
Float tube fishing — the same fishery, different pace
A float tube puts you in the water rather than on top of it, which changes the experience more than it changes the fishing. You’re lower, slower, and more limited in range … but in a back bay piling fishing with calm water and a predictable tide, those tradeoffs can work in your favor.
Tide timing matters more on a float tube
On a kayak with a motor, current is manageable. On a float tube, it’s the most important variable you’re working with. Launch on an incoming tide and let it carry you through the pylon section toward your exit point. That way you’re fishing with the current the whole session and the tide does the transportation work for you. Fighting the current by kicking against it for hours is exhausting and kills your fishing focus.
I launch around 5 a.m. on an incoming tide at MDR, planning to be pushed toward Mother’s Beach as the tide comes in. Fishing partners landing fish from the first section while I’m working my way in … that session dynamic works because the tide is doing the positioning for both anglers simultaneously.
Moving between sections on a float tube
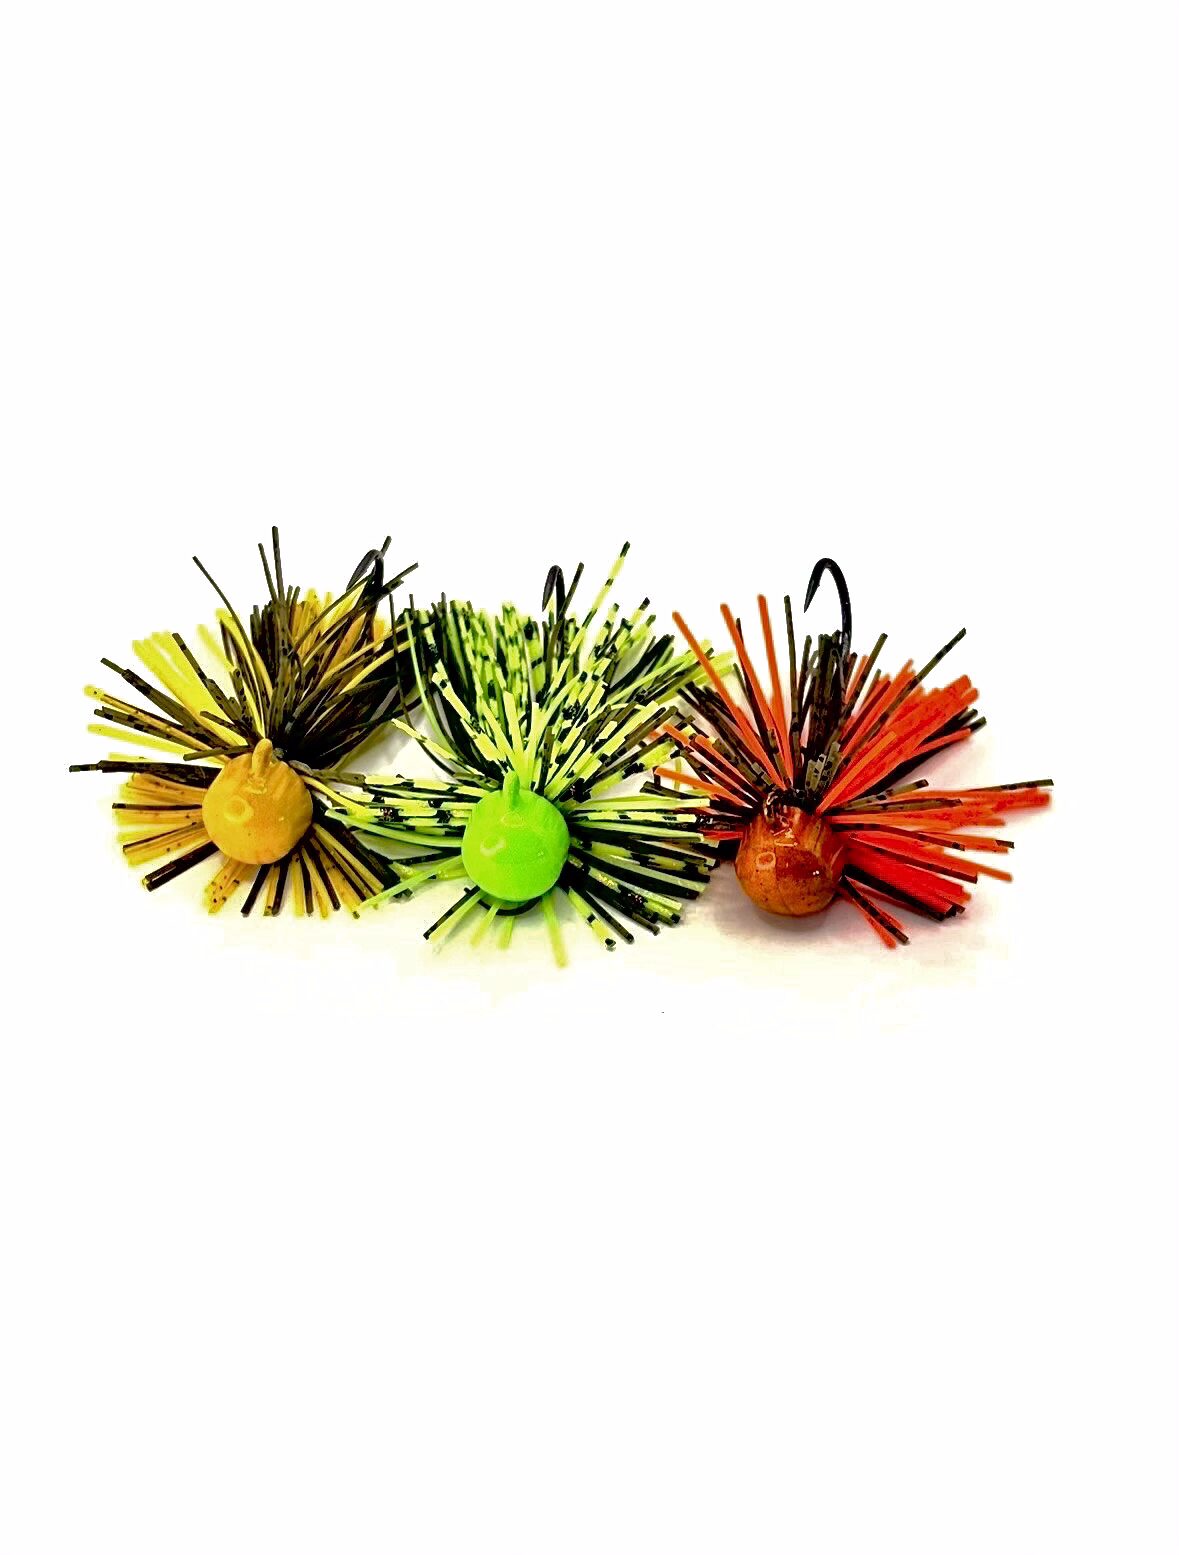
The Caddis Float Tube that i own comes with oars. I initially planned to remove mine and add rod holders but kept them after the first session … kicking gets tiring fast and the oars cover distance without burning your legs. Save the kicking for fine adjustments near structure and use the oars to move between sections. The slow pitch jig works well from the float tube specifically because it covers vertical water efficiently from a stationary or slowly drifting position … less rod movement required, more time in the zone.
I’ve been using the oars on the Caddis. It really gets you moving and you don’t have to kick as much when you’re covering water between sections. Save the kicking for when you’re fishing.
What to fish from a float tube
Baits that work vertically or with minimal casting distance are your friends on a float tube. The slow pitch jig (I ran the 20g Cyclops) is purpose-built for this … drop it down, work it up through the pylon section, let it flutter. The 6-inch RX Slug on a Texas rig produced first fish of the session and holds up well when fish are sitting on the bottom near structure. The Firecracker Ned and roll head is another option … light enough to fish at close range without overcasting into the structure.
Ep. 113 of Time on the Water covers kayak tactics for the wall — drift strategy, current reading, and how to stay in position on a paddle-only setup.
Key takeaways
- A kayak lets you cover a full harbor efficiently, fish both sides of structure, and troll crankbaits along rocky walls in a way shore fishing can’t match. Start inside, work out, note where fish are holding, and loop back.
- Trolling crankbaits along rocky walls: slow motor speed, bottom contact, Rapala loop knot, no clip. The deflections off irregular rock surface are the trigger.
- Float tube: launch on an incoming tide and let it work for you. Use the oars between sections. Fish slow pitch jigs and slugs vertically near pylons rather than casting distance.
- Check your PFD before you trust it, give working harbor traffic more room than feels necessary, and have a rule for when one thing going wrong means the trip’s over.
Frequently asked questions
What’s the best kayak setup for fishing SoCal harbors?
A sit-on-top kayak with a trolling motor is the most practical setup for covering MDR and similar harbors. The motor lets you cover distance without burning energy, troll crankbaits at a consistent speed along the wall, and position precisely near structure. A radio for communication with fishing partners and a life vest every time on the water. Beyond that, the kayak itself matters less than knowing where to point it.
What baits work best for kayak fishing SoCal inshore?
From a moving kayak, crankbaits trolled along rocky structure are the most efficient way to locate fish. Once you’ve found them, switch to finesse: a 4-inch or 6-inch RX Slug on a drop shot or Texas rig fished vertically is extremely effective from a stationary kayak over structure. The Firecracker Ned on a light roll head is another good option for close-range vertical fishing near pylons.
Is a float tube worth it for SoCal inshore fishing?
Yes, especially in the back bays and harbor interiors where water is calm and tidal current is manageable. The trade-off vs. a kayak is range … you cover less water per session on a float tube. But for slow, methodical pylon fishing where you’re drifting with the tide and fishing vertically, a float tube is a legitimate and effective platform. Tide timing is the critical variable: fish the incoming tide so it’s working with you, not against you.
Built for This Water
Whether you’re running a motor kayak along the wall or kicking through pylons on a float tube, the baits are the same. The RX Slug, Firecracker Ned, and Paddle Tail are built for this fishery and tested in this water.